here is a tutorial
all u need is --
1. Nice gift wrapping paper or traditional Japanese paper for the kimono, make it 5.5 x 12.5 cm
2. A different printed paper for collar about 1.5 cm x 5cm
3. 1.5cm wide paper for the belt of the kimono.
4.Another strip of paper narrower than the belt .You can use a few different ones to layer if you like.
in this case i used a ribbon rather than the paper.
5.Hair” and “Fringe” paper – I used a normal black craft paper, but Japanese crepe, or a standard crepe paper will be best.
6. White card for head and body. The head circle is about 2cm in diameter, the body about 3mm wide, length isn’t that important.
7. Double-sided tape (you can use glue too)
8. Sticky tape
9. Scissors
Here is how to make it -
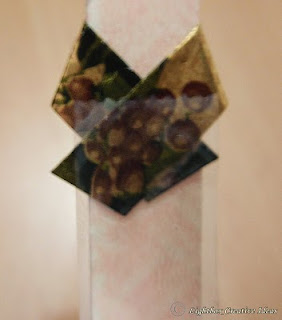
Take the collar and fold it into a half, and wrap it around the body (card strip) such that when you look down upon it ,the left goes under the right. This is the way a kimono is worn by all except for the deceased.
Now cut the excess of collar and tape it to the body as shown.
Now take the kimono paper and with the wrong side up, fold about 1cm of one end.
Now we Flip the paper over again as shown below and fold about 0.5cm back over. This forms the collar of the kimono.
Tape the body and under-kimono collar into the middle so that just a touch of the under-kimono peeks over the top and start folding the left side of the kimono over the under-kimono collar. Only press the top of this fold, not the whole length.
Fold the rest of the side over to create a straight edge down the kimono as shown
fold over the other side in the similar manner.. This side doesn’t fully cover the other side. There should be a few millimeters of the first side showing. Trim anything that hangs over the side.
now take the round card and apply the black paper on the head to make a fringe. It should be there about half-way down. If you are using crepe paper , make sure that the grain of the crepe is running down, like hair would do.
Flip the “head” over and trim off the excess paper. The trimming doesn’t need to be too perfect, this will get covered by the rest of the hair anyway.
Tape the Head to the Body.
Now put the Belt piece around the kimono so that it sits just below the main collar of the kimono and covers the angled folds in it.Tape this at the back.
Put a decorative piece of printed paper or a nice ribbon (as“obijime” )over the belt (known as obi). You can do a few of layers of this if you like.
Now we add hair to our paper doll. to do so place the head in between the black paper, now fold the hair so that it angles up to the middle from both sides and then fold the top part of the hair backwards and tape them to the back of the head.
And thts our doll ! :) use it as a Book mark .... its cool ! :)
happy crafting people ! :) :)


love!
ReplyDeletethxs sandi :)
ReplyDelete